Basic3QAQC — Installation & Setup Guide
Walk-through of installing the Basic3QAQC application inside JMP, configuring defaults, and running your first analysis on the demo data.
Before you start
Ensure JMP 19 or later is installed on your machine. If you have not yet downloaded the Basic3QAQC demo package, request it below — the installation steps assume you have the zipped folder available locally.
Installation Guide
Thank you for choosing Basic3QAQC. The steps below walk you through the installation and initial setup process to ensure a smooth and successful start.
1. Download and Extract Files
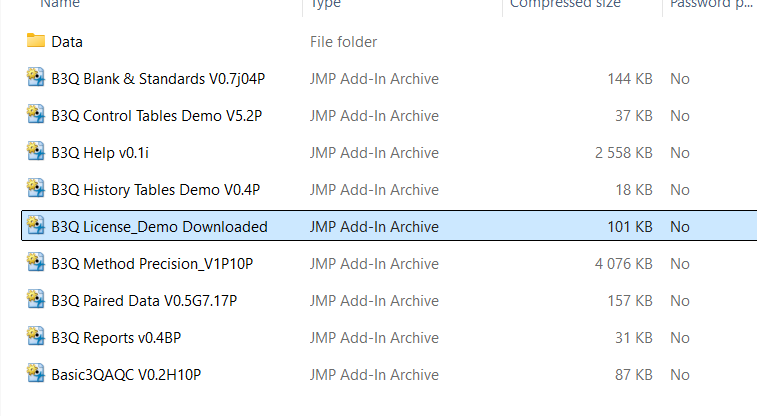
After downloading the demo package, you will receive a compressed (zipped) folder.
- ✓ Extract the contents of the zipped folder to a location of your choice.
- ✓ Open the extracted folder to view the installation files.

2. Install the Licence
The installation must be done inside JMP. Start JMP first, then locate the installation files.
- ✓ Locate the file named “Licence Demo” (or similar).
- ✓ Double-click to run the file.
- ✓ A pop-up window will appear — respond by selecting Install.
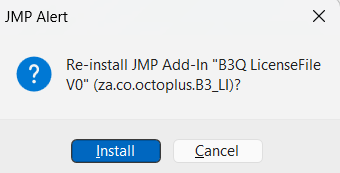
- ✓ Click Install to proceed.
Once the licence is installed, you are ready to install the remaining components.
3. Install Application Files
- ✓ Install all files in the folder except the “Data” folder.
- ✓ Each file should be opened and installed individually.
Important
Basic3QAQC consists of multiple integrated components; all must be installed.
4. Launching Basic3QAQC
Once installation is complete, you can open the Basic3QAQC interface in two ways:
Option 1
Press Ctrl + Alt + 3
Option 2
- ✓ Open JMP
- ✓ Navigate to Add-Ins in the menu bar
- ✓ Select Basic3QAQC from the dropdown menu


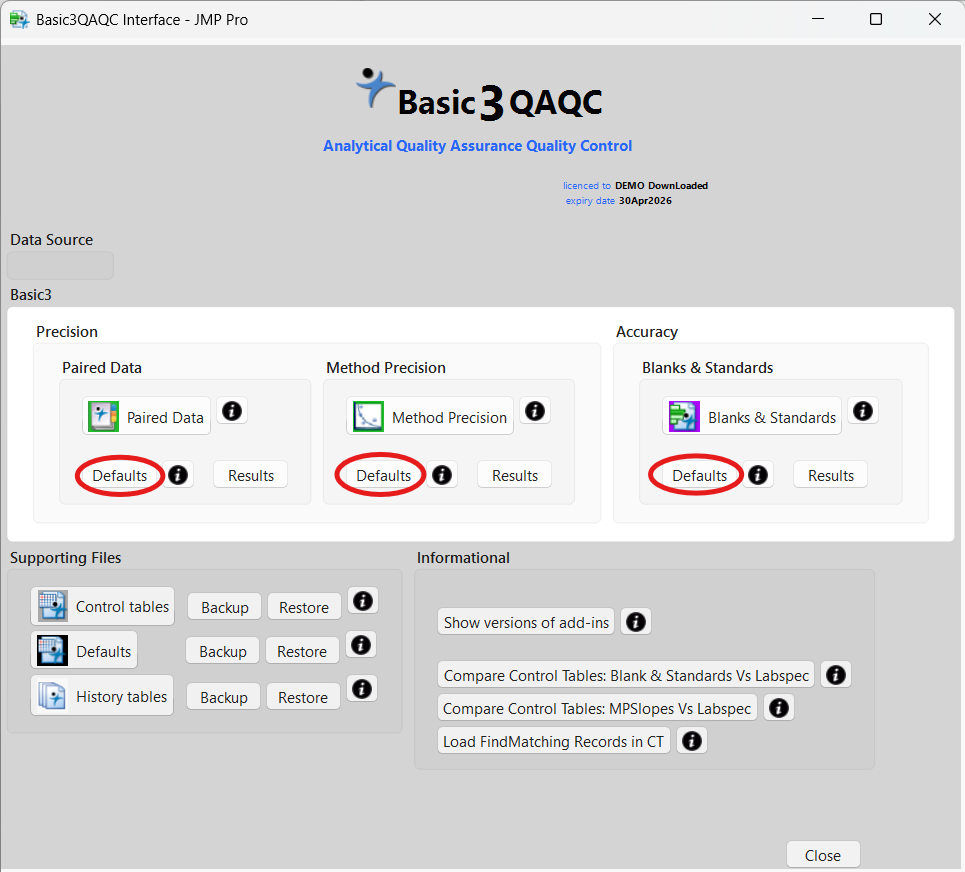
The Basic3QAQC user interface will be displayed — see the next section for default configuration.
5. Configure Default Settings
All analysis results are saved to user-defined directories. It is essential to configure these paths before starting. Perform this step when installing Basic3QAQC for the first time or after reinstalling.
5.1 Set Results Paths
Each module requires its own results directory.
Example (Paired Data):
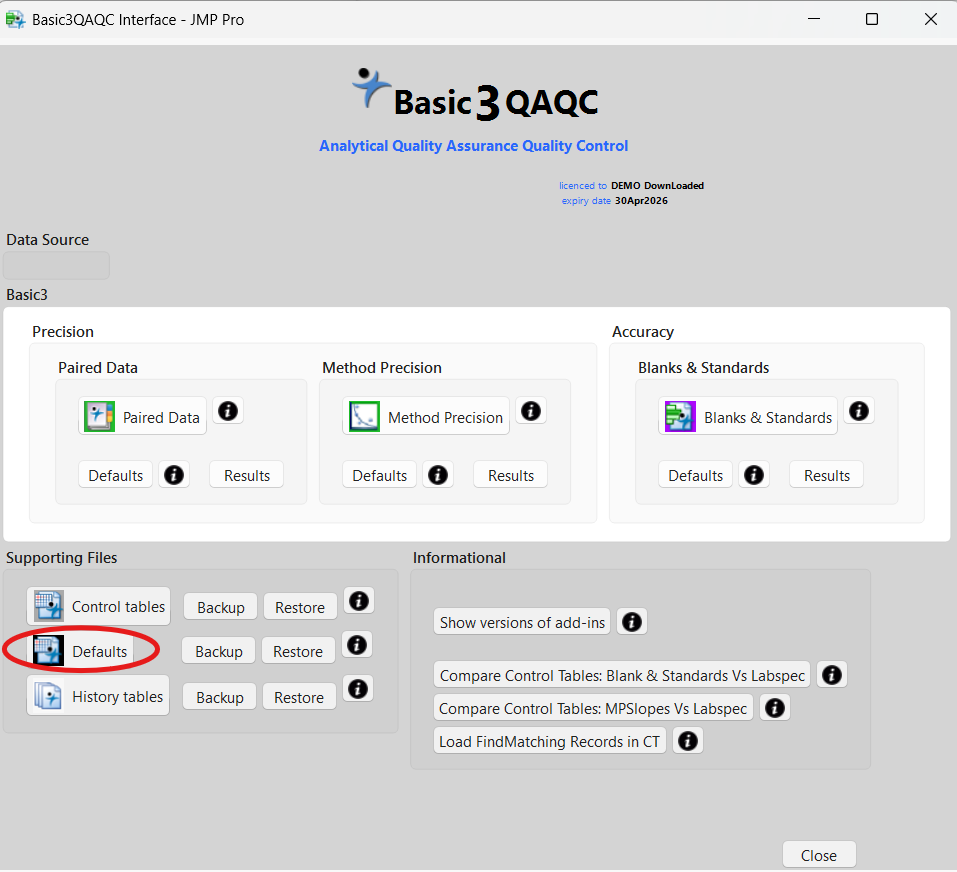
- ✓ Open Defaults within the Paired Data module.
- ✓ Locate the file path (highlighted below).
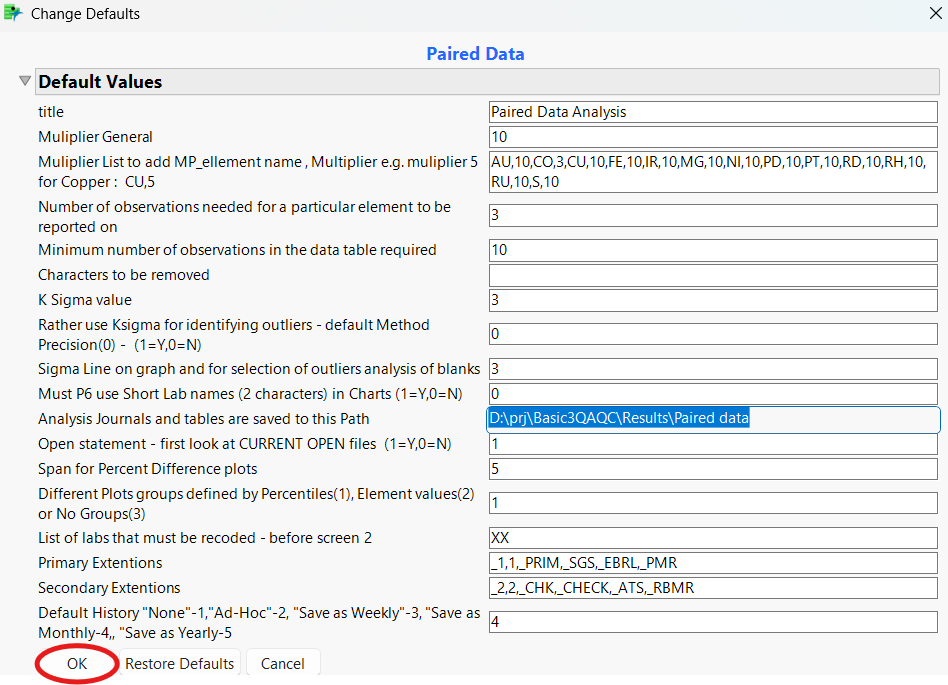
- ✓ Change it to your preferred directory.
- ✓ Click OK to confirm.
Repeat this process for:
- ✓ Blanks & Standards
- ✓ Method Precision
6. Configure Backup Location
Basic3QAQC automatically stores backups of important data, including:
- ✓ Control tables
- ✓ Default settings
- ✓ History tables
To set your backup location:
- ✓ Open Defaults
- ✓ Select Basic3QAQC Interface
- ✓ Choose your preferred backup directory
- ✓ Click OK to confirm
7. Completion
Your installation and setup are now complete. You are ready to begin evaluating data using Basic3QAQC — moving from data control to data understanding.
8. Support
If you experience any difficulties during installation or setup, please do not hesitate to contact us for assistance.
Evaluation Quick Guide
Quick start to analyse the demo data.
The demo data consists of two files: one for Blanks and Standards, and one for Paired Data Analysis. The Paired Data Analysis file can also be used for Method Precision.
- ✓ Blanks & Standards Analysis:
Demo Blind Stds.jmp - ✓ Paired Data Analysis:
Demo Paired data.jmp - ✓ Method Precision:
Demo Paired data.jmp
Analysis of Blanks & Standards
This analysis is used to calculate the bias present in the data.
Select Blanks & Standards from the start menu.

The system will prompt you to select a JMP data table. Select the data table from the
downloaded file under \data.

Select Demo Blind Stds.jmp.
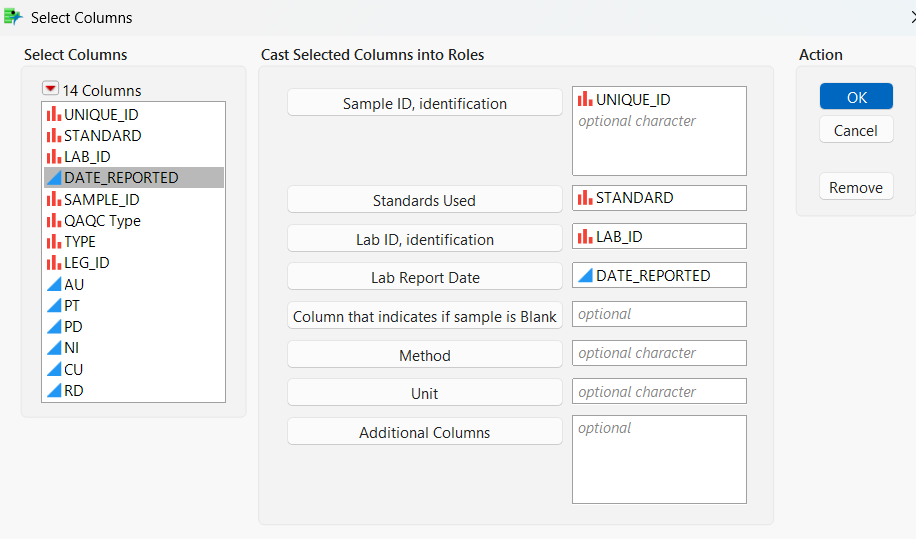
The system will then prompt you to specify the roles of the different columns in the analysis. Only assign columns/variables to roles where required. Click OK.
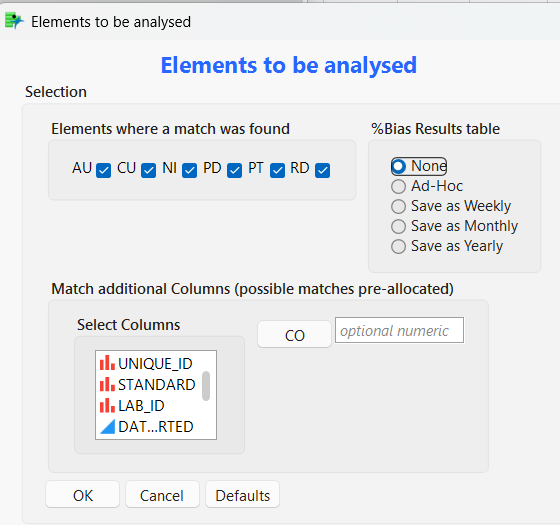
The next screen assigns the element columns to the correct roles. Because the column names match the element names, the system assigns them automatically (see also Defaults).
The %Bias Result Table heading refers to the History file. The system generates summary records in this file, which can be analysed over time to identify trends.
You may deselect certain analysis columns if you only wish to analyse specific elements (for example, Pt and Pd). Click OK to start the analysis.
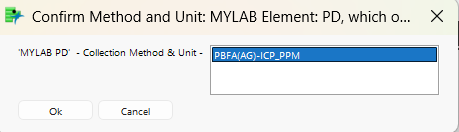
The system will prompt you to confirm that the correct laboratory method
PBFA(AG)-ICP is selected
and that the units are in PPM.
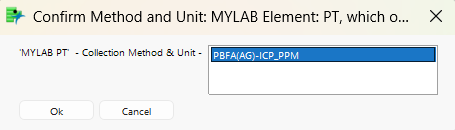
Select the line and click OK. Ensure the line is selected before clicking OK.

You will see that the system is processing Step 1 of 2, starting with element Pt.
The system will run for a short period, during which windows may open and close automatically. The Pt data is analysed, and the results are saved in the results directory specified in the Defaults file for Blanks & Standards. The system will then proceed to element Pd.
You will again be prompted to confirm the laboratory method and units.
Select the line and click OK. Ensure the line is selected before clicking OK.
The system will return a message indicating that no problems were found.
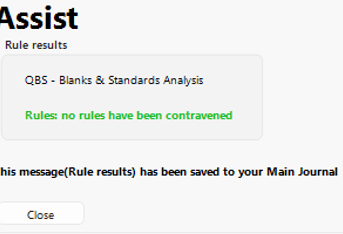
Click Close. The analysis is now complete and you will be returned to the Main Journal, which provides a summary of the analyses.
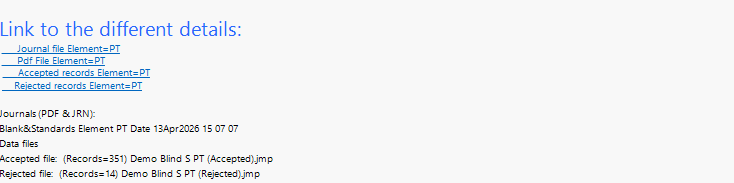
The Main Journal contains links to more detailed reports for each element, including rejected records, accepted records, and detailed PDF reports for sharing with non-JMP users.
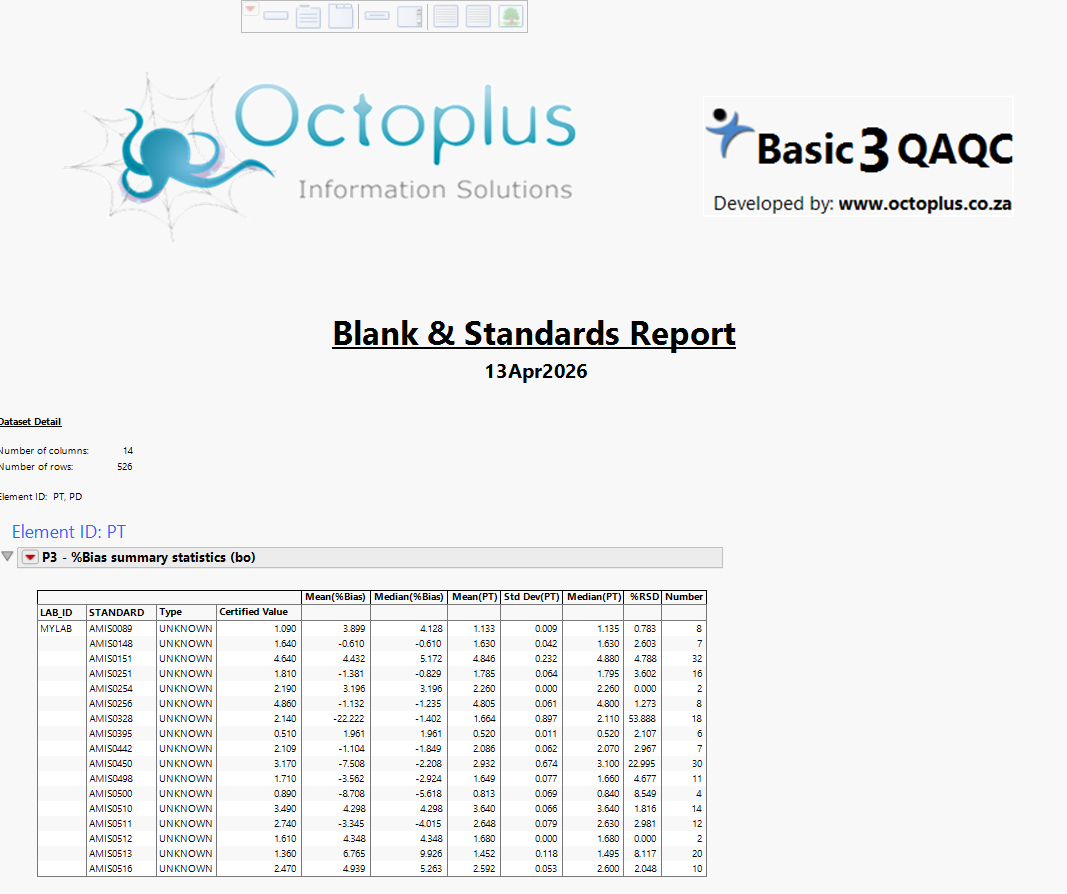
Select Journal File Element — Pt.
The first page of the detailed report appears as follows:
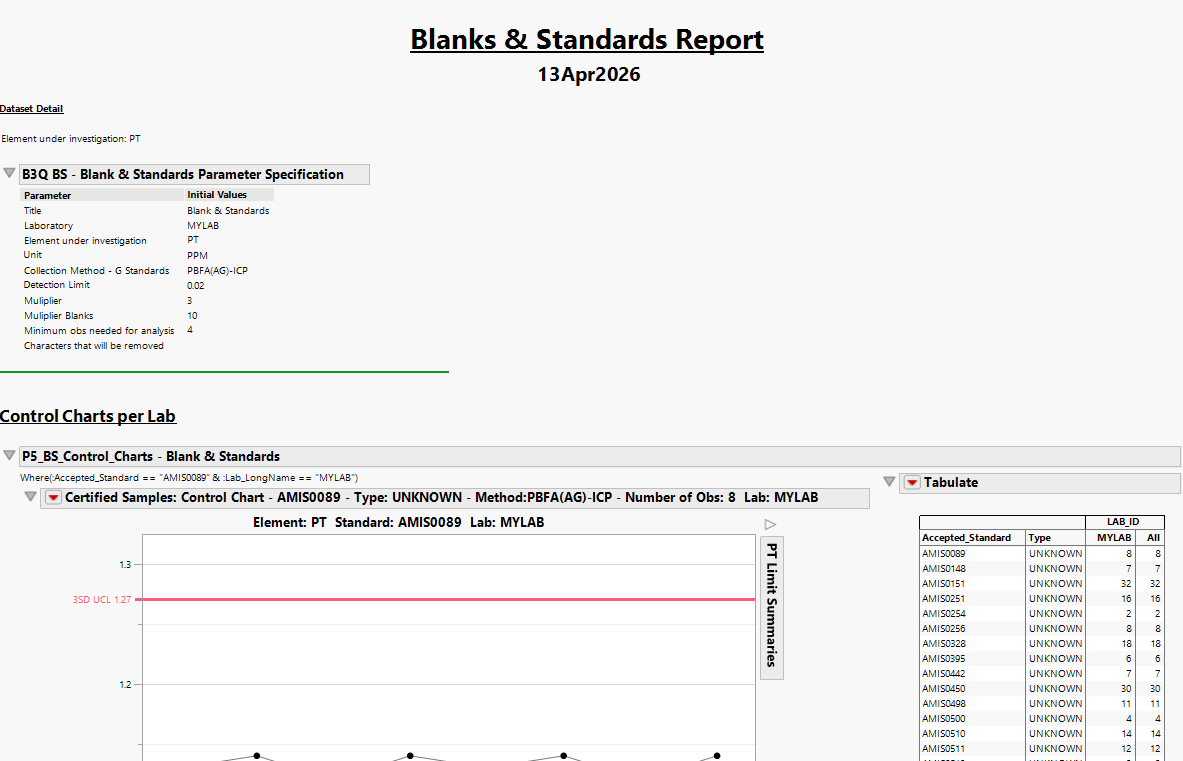
After reviewing the report, the journal windows can be closed without saving. Copies of all results are stored in the predefined results directories specified in Defaults.
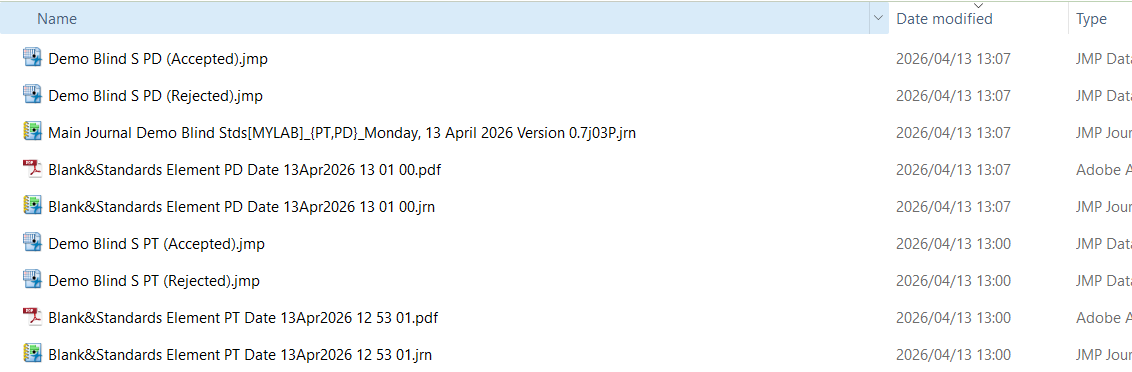
Under Blanks & Standards, select Results.
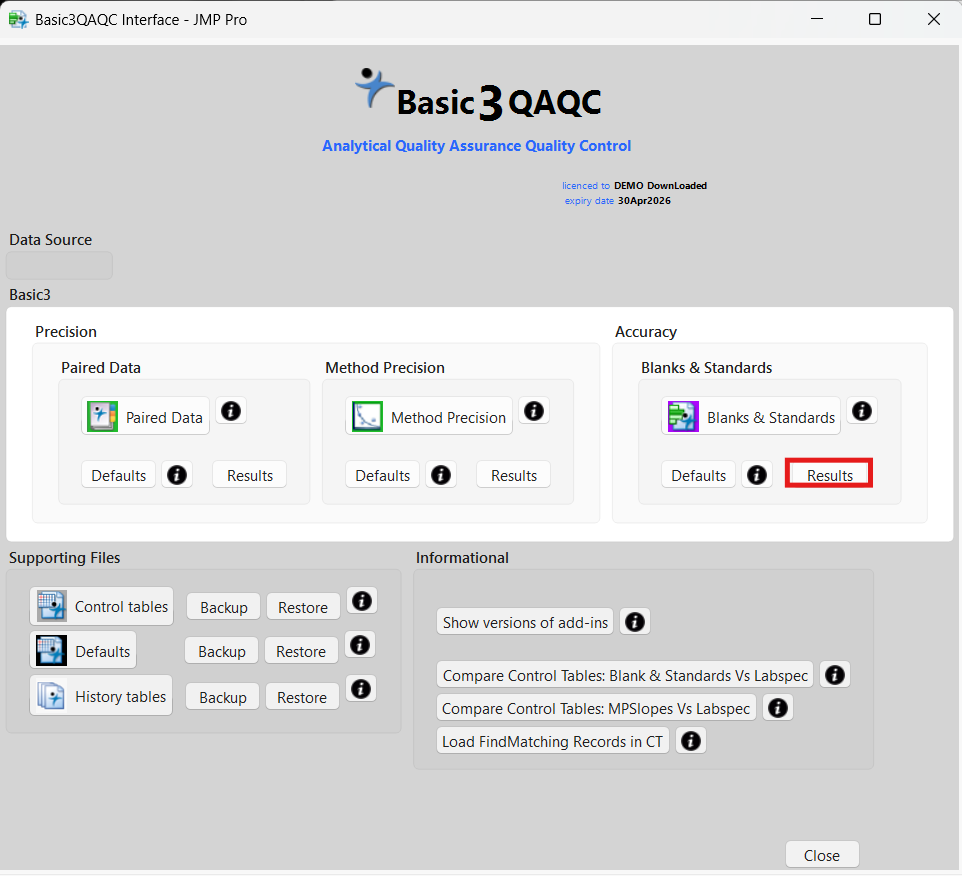
You will be directed to the Blanks & Standards results directory. You may then select the files of interest.
Need a Hand Getting Started?
If you get stuck during installation or would like a guided walk-through of your first analysis, we’re happy to help.